Welcome back to the Housemates Hack Pack series! If reading that makes you think, “what exactly are you welcoming me back to?” be sure to check out the first post in this series. Each post in the HHP highlights around 3 tips & tricks that our very own Housemates (that’s what we call our employees... so don’t worry we’re all appropriately socially distancing and not in a house hanging out together) put to use every day in the app as we use Shortcut to build Shortcut.
This week’s edition (and the very first edition) were both penned by Mel, a long-term member of our Customer Success Team who will shortly be leaving Shortcut for an opportunity she couldn’t pass up. We wish her nothing but incredible success as she moves onward and upward and perhaps even becomes a future Shortcut customer at her next gig.
Hey all 👋 - it’s Mel, back with a few more tips. As I noted in my first post in this series, one of my favorite parts of talking to customers is drawing their attention to hidden gems that make Shortcut a real joy to use.
Here are three more features that I personally use every day to move efficiently through the Shortcut app and surface all the information that’s most relevant to whatever I’m working on.
1. Simplify and focus your Stories Page with custom Spaces
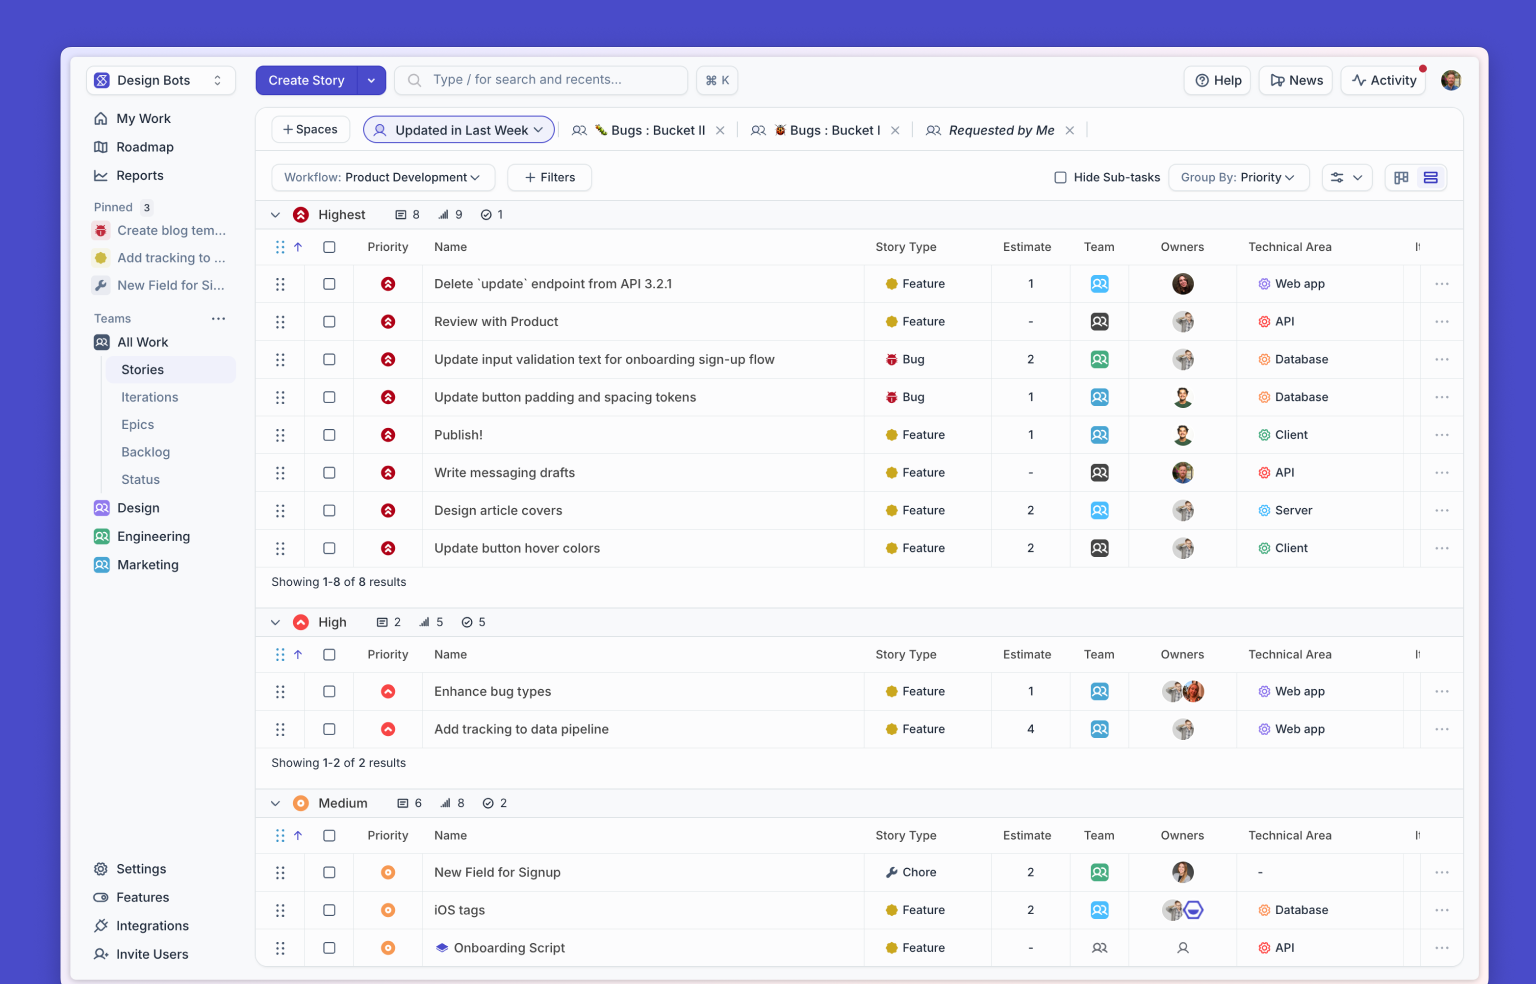
The Stories Page is one of my favorite views in Shortcut. It provides a traditional Kanban View of how work is progressing from Unstarted → Started → Done across an entire Workflow. When I speak with customers, the Stories page is one of the main places they spend their time in Shortcut, too!
I always like to say that Shortcut is Trello on Vitamins (like a really good, solid multivitamin with 150% of your recommended B12) — for me, the powerful filtering that you can add to the Stories Page is where those gains from the vitamins feel most noticeable. 💊💪
You can filter by Project, Iteration, Epic… and mix and match with many other options.
As you experiment to find that *just right* filtered view, do you have to recreate all those clicks each time? NO WAY! Use Saved Spaces — saved, filtered views — to create one-click access to your perfectly-groomed view of the Stories Page.
We start you off with some default Spaces to get you started — these are denoted with Stars.
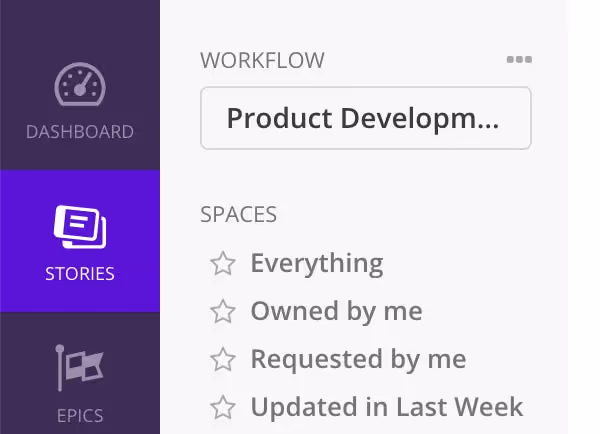
Click on a Space to explore how these built-in filters work. And, if you don’t like one of them for any reason, mouseover it to access the option to Hide it.
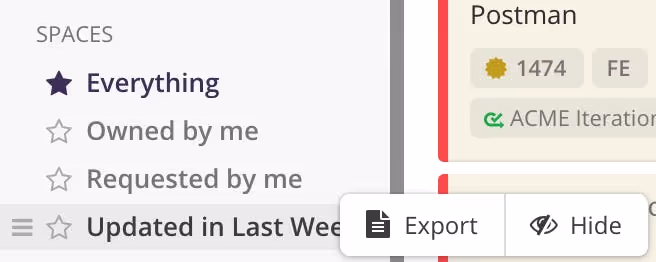
HOT TIP! Keep that Everything space, though! It’s the quickest way to revert back to an unfiltered view if you feel you’ve gone a little too wild with filtering options.
Let’s take an example of something I keep an eye on in my own daily work. On the CX team we leverage our Zendesk Integration to file all of our Shortcut Feature Requests as Stories. The CX Team also meets quarterly to define what features are priorities for us & we mark them with the Label cx-priority.
We’ve created a Saved Shared Space so that I and the rest of my teammates can keep track of where these Stories live.
Let’s walk through how to create a Saved Space.
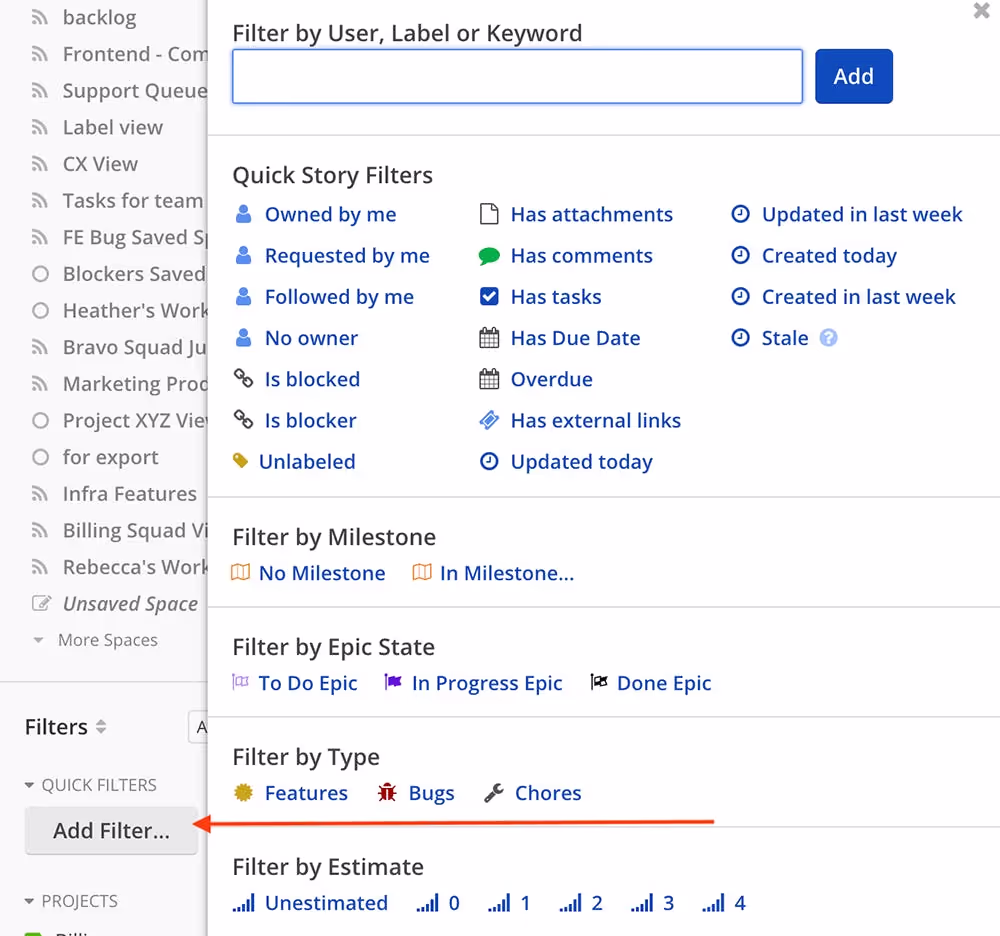
First, Use the Add Filter button, and start typing the name of the Label. Once it appears, click it to select it and you’ll see it appear below.
Once you add any filters, you’ll see a placeholder called Unsaved Space appear at the bottom of the Spaces list. Mouseover it, and you’ll see the option to Save New.
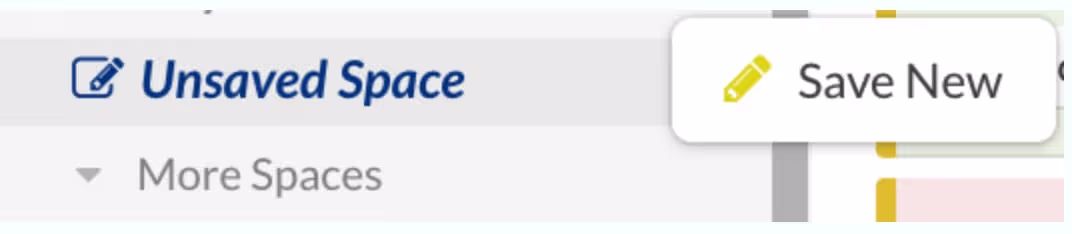
Click on Save New (careful, the tap target is tiny! :)), type in your new title, hit enter to save, and you’re ready to go! The first Space you create defaults to a private space that only exists for you. Private spaces are denoted with a circle to the left of the Space name
Hover over your newly-created Space for a few more options, including the ability to make it a Shared Saved Space (that circle icon will turn to a Wifi-esque symbol) and it’ll now be discoverable by anyone in your Workspace (click More Spaces at the bottom of the Spaces list to see what your teammates have created and add it to your list).
Another bonus is that when a Space is shared, the URL for it is also shareable! Click on your saved Space and your custom-tailored Shortcut view is available to you in one move. Want to make sure someone else is looking at exactly the same thing? If the saved Space has been Shared, then you can copy the URL from the address bar and message it to a colleague so you’re absolutely sure you’re looking at the same view of the Stories Page.
Watch this video to see Spaces in action:
BONUS TIP!
Just as the URL changes on the Stories Page as you add in filters, the URL on the Epics page also changes! While we don’t yet support Saved Spaces on the Epics page (it is an open feature request Story, though — write in and let us know if you’d like to add your +1!), you can save a Bookmark of your favorite filtered Epics page for easy reference so you don’t have to re-filter each time you’d like to see or share a certain set of work at the Epic level.
2. Change the Story density by zooming in and out
While we’re talking about how to customize your Stories page with Saved Spaces, I also want to point out a few different dials you can turn to get that Goldilocks-Just-Right level of detail on that page.
First, the Story Density toggle
Dream big with the Jumbo View and large font-size, or pair it down to Title Only to get a more list-styled view. Customers I speak with love the Title Only view for backlog grooming!

Expand or Collapse side menus for more space
Need more real estate to view your Workflow State columns? Just want to minimize distraction & have a clearer view of your work? Use these little arrows at the edge of each of these sidebar menus to give yourself more room to breathe.

3. Surface better results by using inverse Search Operators
When you need to find what you’re looking for in Shortcut, you can leverage our extensive list of Search Operators to narrow down the results. Sometimes, though, you can only surface the right results by knowing what you DON’T want to see. That’s where the inverse search operator comes in!
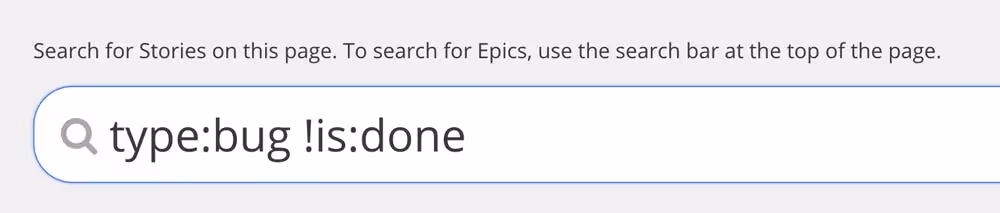
One way I use the inverse operator is to look for a Story for an active bug that I know hasn’t been squashed yet 🐛👞
Using ! allows you to surface the inverse (or opposite) of the operator you’d like to use. Here’s what my search query looks like when I want to narrow down the Story type to show only Bugs AND only those that are not in a Done Workflow State:
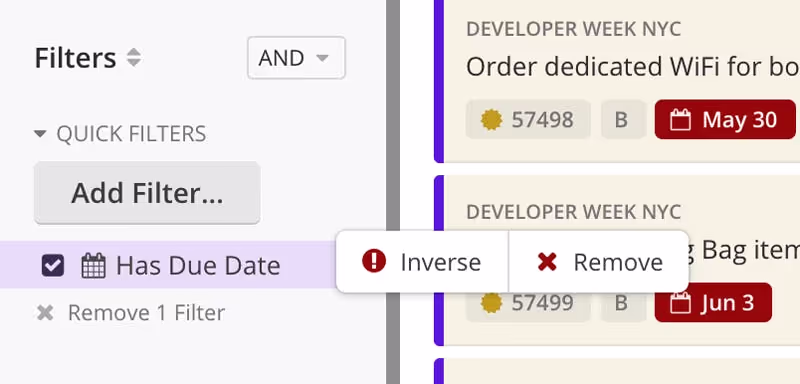
You can also use the inverse feature on the Stories filter page -- just hover over a filter to see the option to select that filter’s inverse!
That’s all for this round of the Housemates Hack Pack! Be on the look for the next edition: The Housemates Hack Pack and the Blog Post of Secrets in two weeks.
And if you want to learn more, visit help.clubhouse.io or visit our forums. We’re here to help. And also to write blog posts. But mostly to help.

%20(788%20x%20492%20px)%20(1).png)
.png)